|
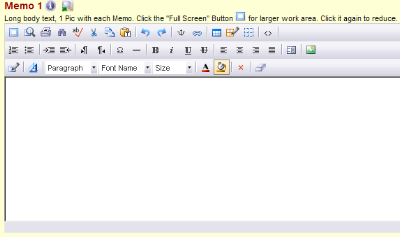
The WAG-MOD HTML editor is a powerful tool. While it looks very much like a "mini-word processor", and in many ways functions like a word processor, it is in actuality a What You See Is What You Get (WYSIWYG) Hyper Text Markup Language (HTML) editor.
It is found in many of the management pages of your Webs-a-gogo WAG-MOD such as Press Article Add/Edit and Product Item Add/Edit and more.
Don't let the big phrases scare you. It is quite simple to use and this HELP briefly explains some of it's more common functions. You will also find links to additional Helps which provide more detailed explanation for other functions of the HTML Editor.
|
|
|
|
|
|
Expanding the work area
|
 Back to the Top
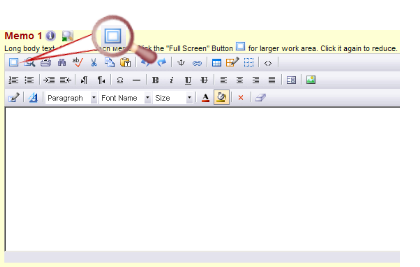
Clicking the Full Screen icon will expand the memo field work area to give you more room to work. Click it again to return to the default view. |
|
Formatting Text in a Memo Field 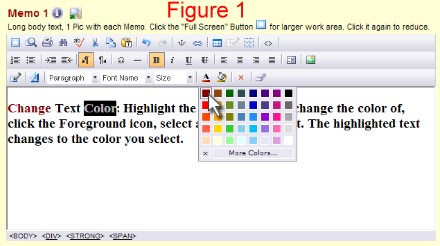 |
 Back to the Top
Text color, font style and font size are set Globally for your site in your Site Wide Colors and Styles feature. However, they can be over-ridden at the page level. Here are 3 brief examples of how:
Figure 1, Change Text Color: Highlight the text you want to change. Then, click the Foreground Color icon, select a color and click it. The highlighted text changes to the color you select.
To view a detailed Help covering more text formatting functions in the HTML Editor, click here. |
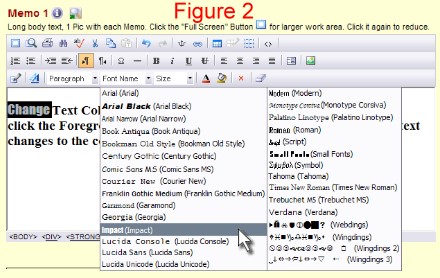 |
Figure 2, Change Font Name: Highlight the text you want to change. Then, click the Font Name dropdown menu, select the desired font from the dropdown and click it. The highlighted text changes to the font you select. |
|
|
Figure 3, Change Font Size: Highlight the text you want to change. Then, click the Font Size menu, select the desired size from the dropdown and click it. The highlighted text changes to the size you select. |
|
Pasting Text Into The Memo
 |
 Back to the Top
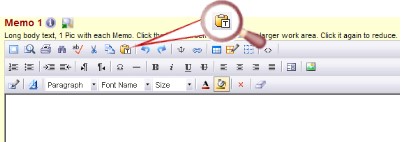
Using the Paste Text icon to paste text into the memo is a good practice. Formatting from MS Word, Word Perfect and other word processing software can conflict with styles, colors, sizes and other format settings in your website's HTML Editor. The paste text function removes this formatting and inserts clean unformatted text.
|
|
Inserting Images
|
 Back to the Top
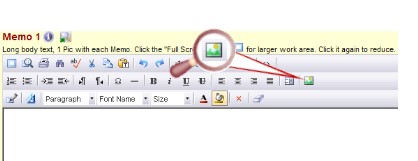
Clicking this icon on the HTML editor allows you to insert an image into the memo. To use this feature you need to have an understanding of file paths. This function does not provide a browse button to retrieve an image. Thus, you must know the path of the image on the web in order to display it in your memo.
Click Image Icon Method: If you use this method the image must reside on the web, or a website somewhere in order for it to be displayed in your site. To proceed click the Image Icon to enter image File Path into the Image - Webpage Dialogue.
1. First, the the file path of the image into the Source field.
2. Type in the mouse over Title text.
3. Select the alignment
4. Set the border if any
5. Set the spacing
6. Click Apply and OK.
Click here to view the Webs-a-gogo HELP for Inserting Images in memos.
|
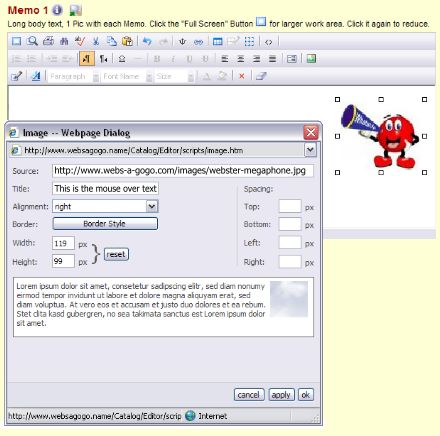 |
Copy/Paste Method: You can insert images into the memo by simply copying and pasting the image. If you use this method the image must reside on a website in order for it to be displayed in your site. You cannot copy a picture from your Computer, such as your My Pictures folder and paste it into the memo editor. Once you have pasted the image into your memo, you can click the image icon to display the Image - Webpage Dialogue with all of the relevant image info. Here, you can edit the mouse over title, alignment and other attributes of the image before saving.
Afterward, don't forget to save your record.
|
|
| Inserting Anchors |
 |
 Back to the Top
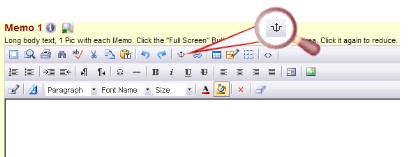
Use the Anchor icon to set named bookmarks in the memo. These bookmarks can be referenced from within the same memo or from other pages. |
|
Creating Hyperlinks 
|
 Back to the Top
Use the Hyperlink icon to create hyperlinks for text and images. Highlight the text (or select the image) you want to use as a hyperlink, then click the hyperlink icon on the HTML editor toolbar.
|
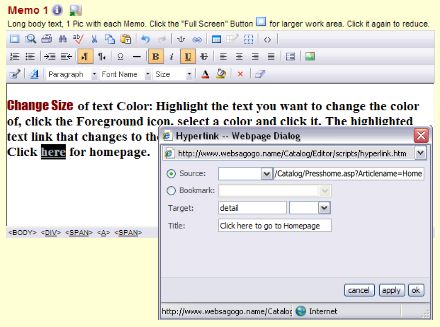 |
In the resulting Hyperlink dialog page, type in the path to the object you want to link to. Click hereto review the Help discussing File Paths.
To target the "stage" of your website for the hyperlinked page to open in, type "detail" in the field next to the Target: label
If you want a mouseover text to appear when the link is moused-over, type the text in the field next to the Title: label. Note: This is a very important SEO feature of your website.
You also use the Hyperlink icon to create links to named anchors (bookmarks) within the same memo. After creating an anchor, follow the instructions for creating a hyperlink. Then, in the Hyperlink Dialog box, click the radio button by bookmark. Your named anchors will appear in the bookmark dropdown list. Select the anchor you want to target and click apply. |
|
|
|
 Back to the Top Back to the Top
Use the Insert Table icon to create tables in the memo. Tables are useful for columnized data, separating images from text, aligning text and images, etc. |
|
|
|
 Back to the Top
Click the Edit Table icon to add or delete columns or rows, adjust cell sizes and much more. |
|
Using the Spell Checker  |
 Back to the Top
NOTE: The HTML Editor uses IESpell. This spell checker only works in Internet Explorer Browsers. |
|
Using View/Edit Source  |
 Back to the Top
Click the View/Edit Source icon to edit the source code of the editor. This feature is primarily used for inserting "embed code" from sites such as Google, YouTube, etc. |