|
Help Details: Catalog Setup - Adding Items |
 |
Begin adding items to your catalog by clicking the Catalog Item Manager icon in your webs-a gogo Control Center: |
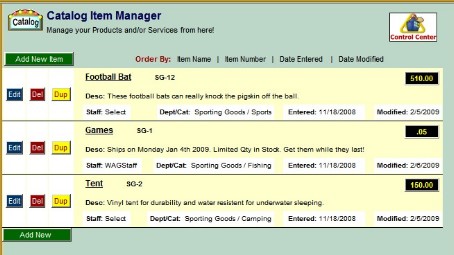 |
You're now at your Catalog Item manager where you can Add New Items, Edit Items, Delete Items or Duplicate Items. To add a new item, click the Add New Item button: |
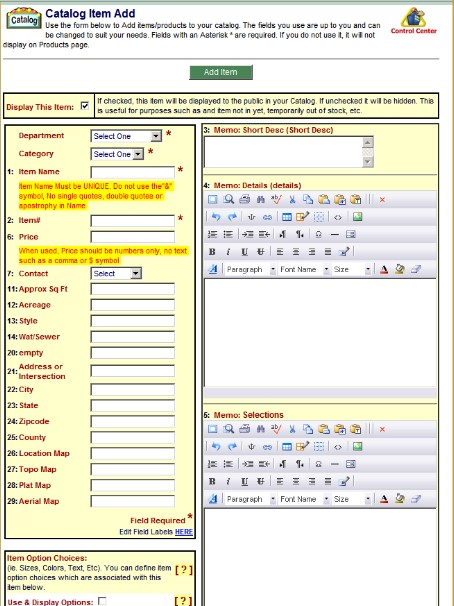 |
This takes you to the Catalog Item Add page: |
 |
1. From the Department dropdown, select the Department your new item belongs to.
2. From the Category Dropdown, select the Category your new item belongs to.
3. Enter the Unique Name of your new item. All Item Names should be unique.
4. Give the new item a uniques item number. All Item numbers should be unique. We suggest developing some type of numbering scheme for your items.
5. Enter the items price.
6. If you have a particular staff member that you want customers to contact about the item, select them from the Contact dropdown. This dropdown is populated by the Staff Member function of your Control Center.
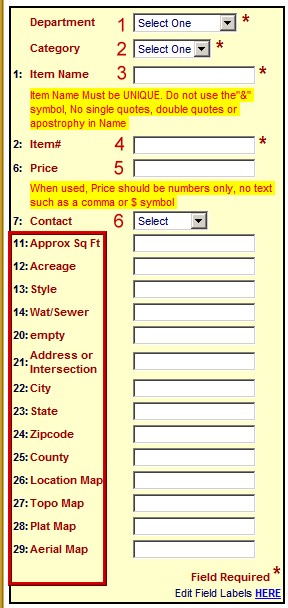
All Fields 1-29 are determined by you.
Shown here are 1, 2, 6 and 7.
Fields 3 and 4 are your short and lond descriptions shown below.
Fields 8 11 are turned off for our example.
The labels in items 11 through 29 shown at left are named by you in the Catalog Field Labels page of your Control Center. You can turn them on or off. Even if they're on, if you leave the field empty, they will not appear on the product page your customer sees. They may be used for descriptives and other special purposes applications such as real estate labels.
|
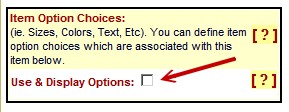 |
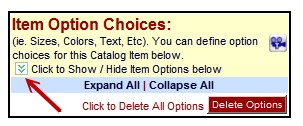
Item Option Choices: In this section, choose whether you will need to specify Item Option choices such as size, color, text, etc. for this Catalog item.
The choice you make here will simply determine where you are directed when you save this Product Item record by clicking the Add Item Button at top or bottom of the page.
If you select this checkbox, (see the red arrow), you will be re-directed to the Catalog Item Edit page for this item, and positioned at the Item Option Choices section where you can configure your Item Options.
If you DO NOT select this checkbox, you will be re-directed to the Catalog Item Manager, where you can review your new Product Item addition with all your other items.
Either way, you can always edit this item at any time to add abd configure Item Option Choices for use when your customer is buying this product.
|
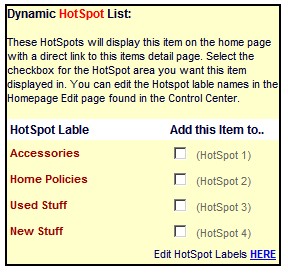 |
If you want the item to appear in one of the HotSpots on the main page of your site, check the box corresponding to the HotSpot desired. You can also edit your HotSpot labels from this section by clicking the HERE link. |
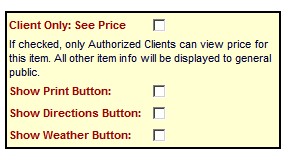 |
There may be some items that you only want authorized clients to see the price for. Check the box next to Client Only: See Price and only those visitors authorized in the Client Manage section can see the prices. If selected, then only Clients you have provided with a login can see the pricing for this and other items you slected as Client Only See. |
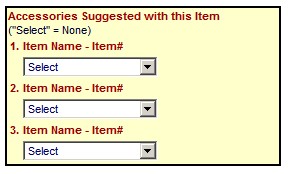 |
In the case that you want to suggest other items to your visitors when they view an item, you can simply select the suggested items in the Accessories section and they will display at the bottom of the "Product Details" page. |
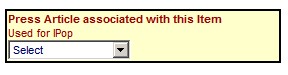 |
If you have a Press Article that is associated with the item, select it from this dropdown of all of your Press Articles. This creates a link to the press article in the Shopping Tools section of the "Product Details" page of that item. |
 |
Now go back to the top right side of the Add Item page:
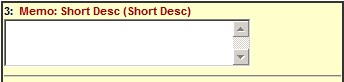
Enter a short description of the new item. This description will appear on the Products View pages (Normal view, List View) of your catalog and in the Main Homepage HotSpot for the new item (if you use it) . This description should be just enough to grab the visitor's attention and entice them to click and view the Product Details page. |
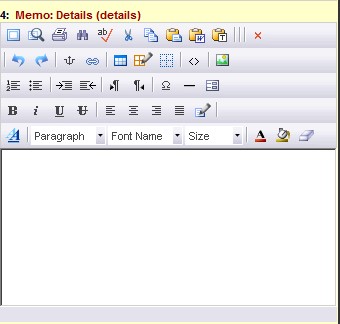 |
This is the Long Description Memo Field that appears on the Products Detail Page. Use it to expand on the description of the item. You can add as much detail as you want to here. |
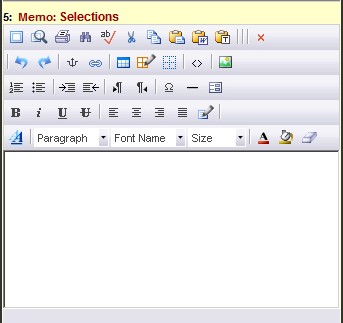 |
This is the Services Description Memo Field that appears on the Products Detail Page.
You can also, embed videos from YouTube or others sources, embed Flash Video Animations and more.
It can be used to describe services included with the item, warranty terms, etc.
As with all of your Toolbar Memo fields, they are mini WYSIWYG HTML editors (WYSIWYG = What You See Is What You Get) |
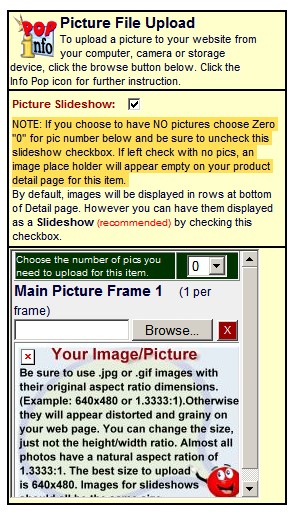 |
Next you'll see our trusty Picture File Uploader. If you've gotten this far you've probably already encountered and used it. Use it to add pictures of the item to the Product Detail Page.
**** NOTE ****
Pictures added to Catalog Items are automatically added to the Catalog Gallery. You can allow visitors to view the Gallery by turning the link to it on in the Homepage Setup feature of the Control Center. The Catalog Gallery shows only picture 1 of each Product Item in your Catalog and also links to the Product's Detail Page. |
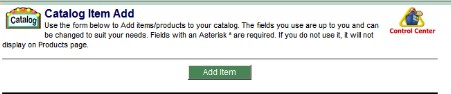 |
Now scroll to the top or bottom of the page and click the Add Item button. |
 |
If you did not choose to Use & Display Options in the Item Option Choices above, then you are returned to the Catalog Item Manager and your new item will be displayed there.
However, if you chose to Use & Display Options when you added the New Item, you are now re-directed to the Catalog Item Edit Page, and positioned at the Item Option Choices box.
Click on the Green arrows to expand the selection |
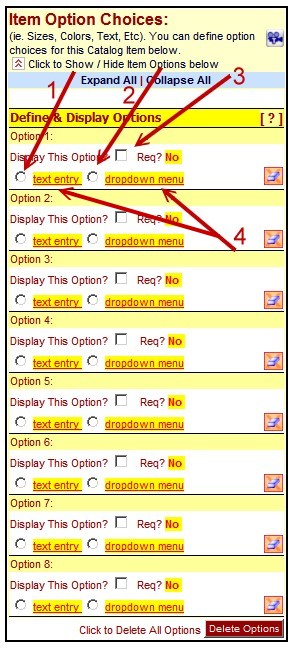 |
In your item options you can choose:
1. Text Entry. The customer has the choice of entering some text that needs to be applied to the item;
2. A dropdown menu from which the customer can select an option such as a size or a color;
3. Whether the customer is required to use the option;
4. Depending on what option method you choose, click on either text entry or dropdown menu (see below). |
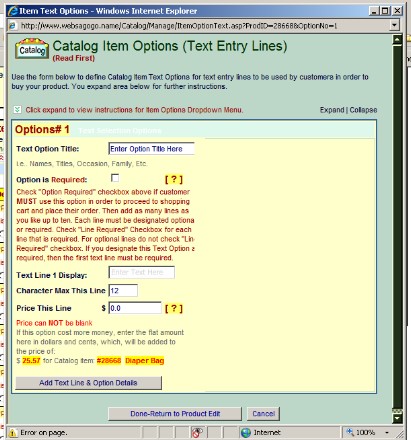 |
If you choose text entry you are taken to the Catalog Item Options (Text Entry Lines) page. Read the page carefully and follow the instructions |
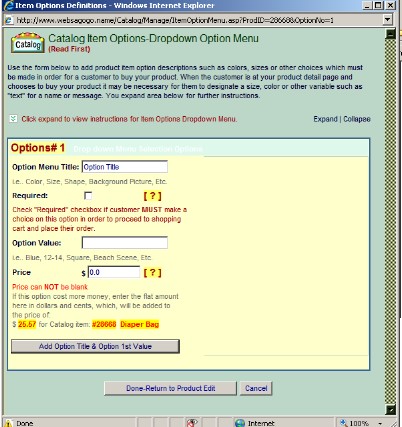 |
If you choose dropdown menu you are taken to the Catalog Item Options - Dropdown Option Menu page. Read the page carefully and follow the instructions:
|
|
| |
|