In Section 1 use the Picture File Uploader to upload your Logo. The logo postion and size are determined by the Template you chose for your site. Every Webs-a-gogo Template in the Template Library displays the overall logo area size for that Template. The default width limit for your logo is displayed in Section 1 of the Homepage Setup page. The width of the logo you upload must fit within the default width limit. Remeber - observe the limits of the dimensions when creating your logo to upload.
Each Section of Homepage Setup has its own Save Settings button. After uploading your logo, scroll to the bottom of Section 1 and save your work:
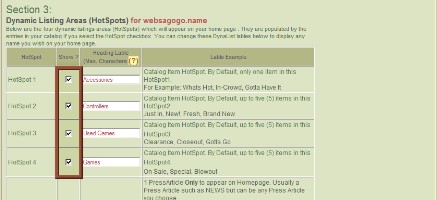
Section 2 allows you to label your sites HotSpots. HotSpots are strategic areas on your main page that can be turned on or off. They are designed so that you can boldly promote selected areas of your site. You activate the HotSpot area by naming it and checking the checkbox here. Content of the Hotspots is comes from Catalog Items or Press Articles and is activated from within the Press Article or Catalog Items themselves by using a checkbox. SAVE YOUR SETTINGS!